
What is Bokeh?
According to the Digital Photography School, bokeh is a Japanese term for the subjective aesthetic quality of out-of-focus areas of a photographic image. Bokeh lights make an interesting background AND they highlight the foreground as they serve to make focused objects stand out. Bokeh lights are very popular for the holiday season as a Christmas tree makes the perfect backdrop to practice! Below you will find several steps that you can take on a digital camera to achieve this aesthetically pleasing background.

How To Get Bokeh
Every camera is different so when following these steps, have your camera’s manual handy to aid you when adjusting several of these settings. In addition, your camera’s lens plays a crucial role when attempting to achieve the perfect bokeh. Nikon claims that the most ideal lens for bokeh photography has at least an f/2.8 aperture, with faster apertures of f/2, f/1.8 or f/1.4 being ideal (See Step 2 to learn about aperture). Fortunatley, even if your lens does not contain these features, you can still capture bokeh in your photos. Achieving the bokeh effect requires patience and practice, so keep trying until you get the results that satisfy you!
Step 1: Switch to Manual or Aperture Priority Mode
Bokeh lights are achieved in several ways, but if you are using a digital camera, SWITCH OUT OF AUTO! It may be tempting to remain comfortable when taking family photos, but to achieve an ideal “blurry” background, there are several steps that you must take that require a more manual approach. Simply turn your camera’s mode dial so that it reaches M or A.
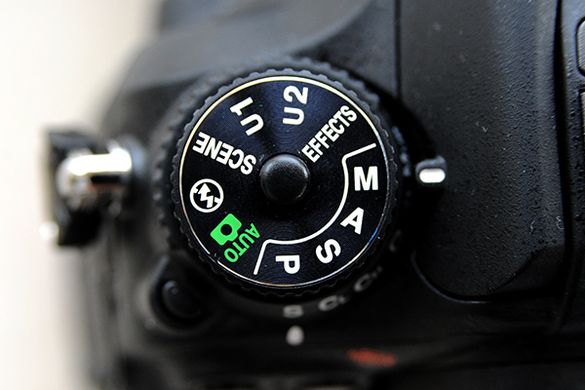
If you are a beginner to photography, I would recommend using A Mode because it lets you control the aperture (the part crucial to capturing bokeh) while it automatically adjusts all of the other settings. M Mode requires more knowledge about other aspects of your camera so an intermediate or advanced photographer may be more comfortable using this mode!
Step 2: Adjust the Aperture
If you want to achieve a perfect bokeh background, setting a proper aperture is the most important step. What is aperture? Aperture refers to the opening of a lens’s diaphragm through which light passes. It is calibrated in f/stops and is generally written as numbers such as 1.4, 2, 2.8, 4, 5.6, 8, 11 and 16. Every camera lens has a limit on it’s F-Stop: the setting of an adjustable lens aperture, as indicated by an f-number, but you want to set a very wide aperture. What does this mean? A wide aperture means that the most light is going into the camera which creates these bokeh lights.

Apertures with lower f-stop numbers are best for bokeh lights as they let in the most light (lower f-stop = wider aperture).
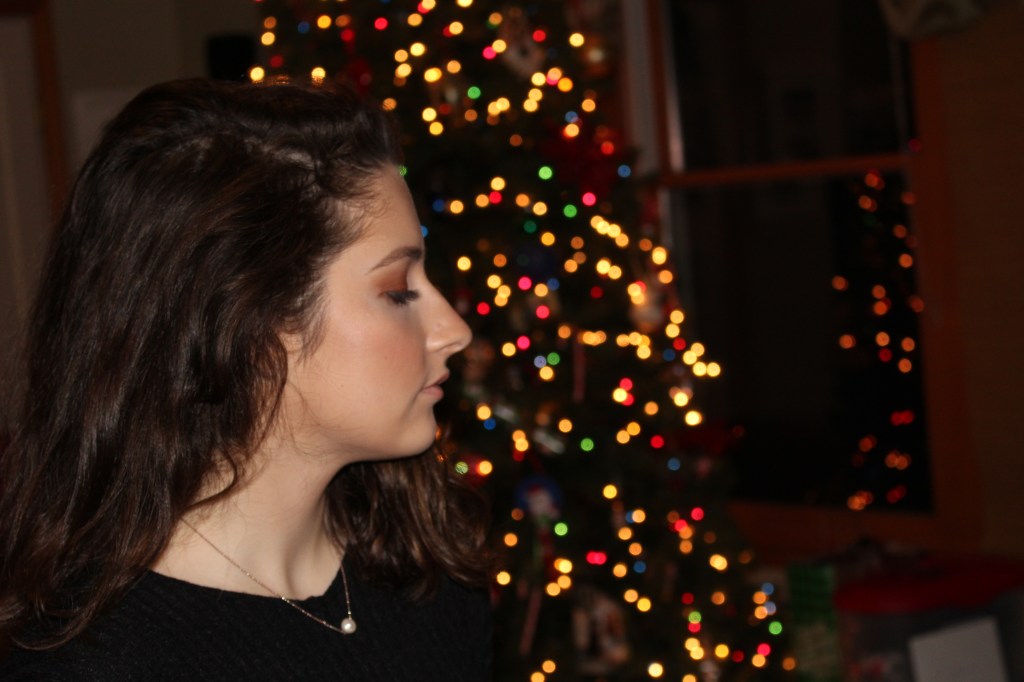
Step 3: Place Your Subject In Front of the Lights
Once your camera is all set up, place your subject in front of the lights! Nikon’s Bokeh for Beginners explains that increasing the distance between your subject and the background will make the bokeh more apparent. You can do this by decreasing the distance between the camera and subject. The more shallow the depth-of-field, or further the background is, the more out-of-focus it will be. It is all preference so if you only want a slight blur, move your subject closer to the lights. See examples below!
Bokeh lights with a short distance between lights and the subject 
Bokeh lights without a subject 
Bokeh lights with the subject further away 
Bokeh lights in the background

Bokeh In Background Outdoors 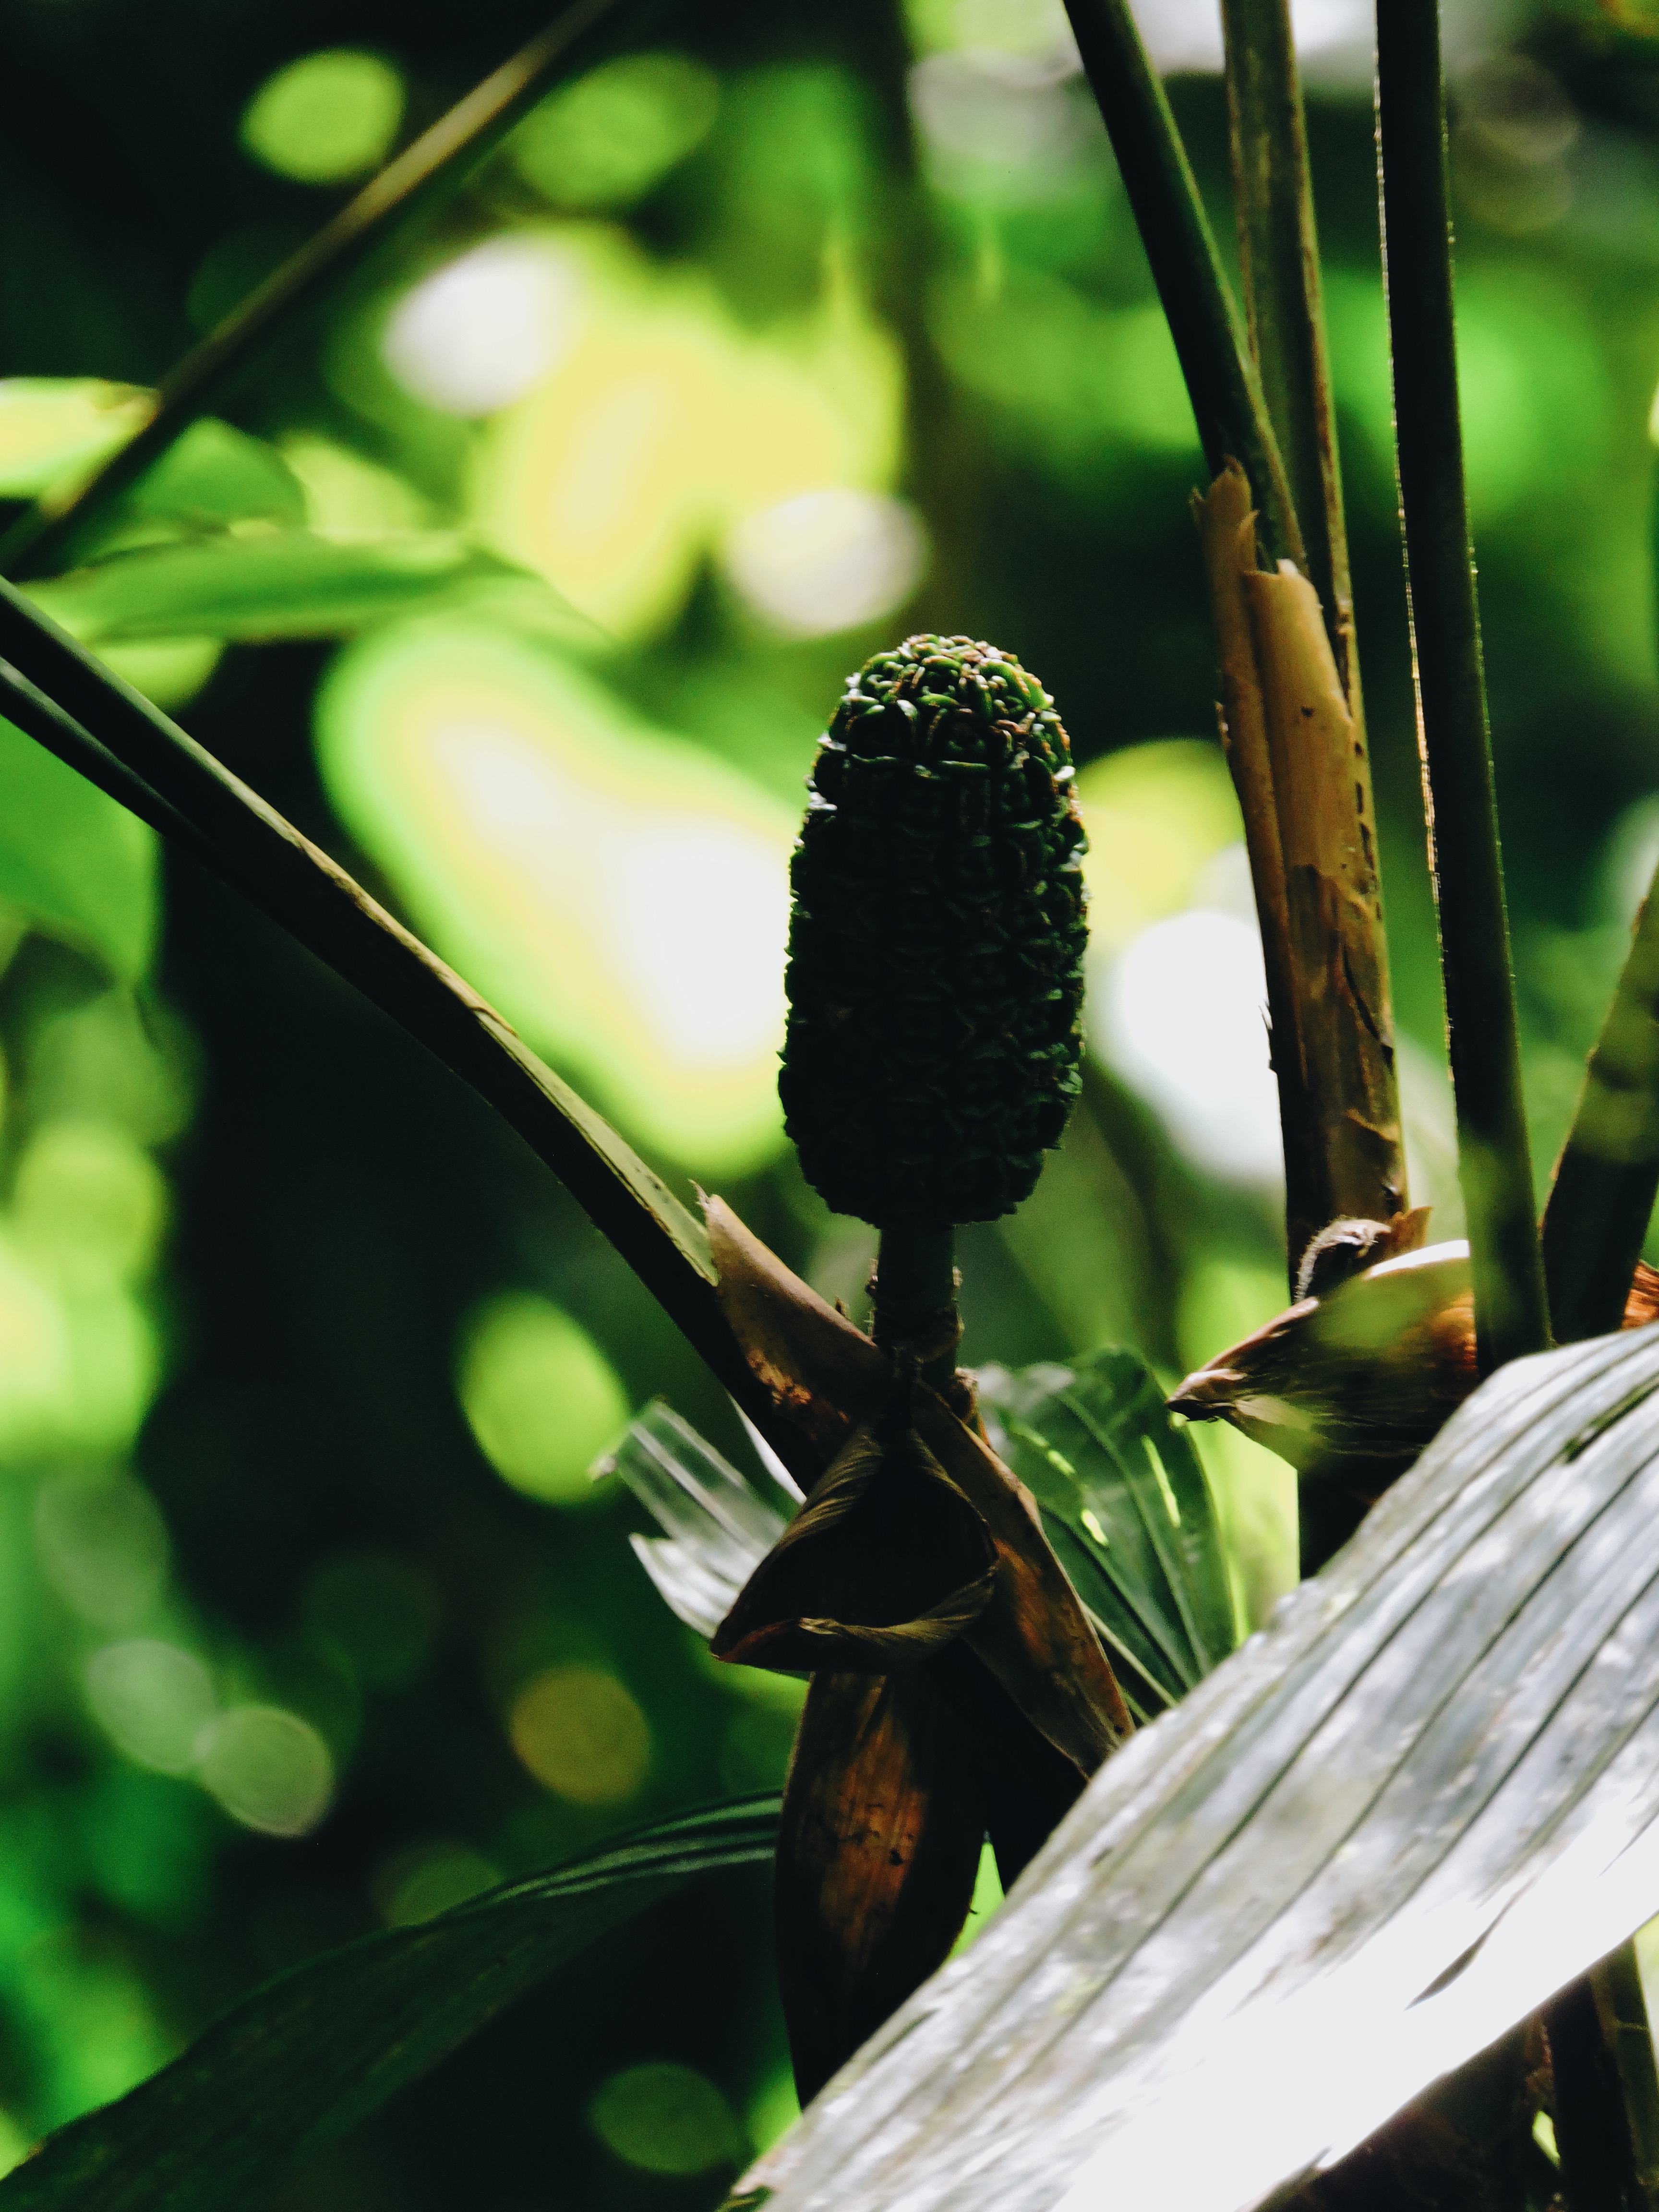
Bokeh Behind A Subject Outdoors
Try it!
Now you have the steps you need in order to you achieve better photos. Grab your camera and your manual and give it a try! Bokeh is especially popular during the holiday season as Christmas Trees make the perfect backdrop to experiment. Bokeh can be used year-round as you can find bokeh in many places including outdoors. Try something new and update the quality of your photography!

Woah this is so cool and helpful!! Great work!
LikeLiked by 1 person
Thank you for reading, I am glad that it helped 🙂
LikeLike